We have compiled a detailed guide to help you learn more about the “Russian manicure”. It is beneficial if you’re just starting out in the nail service field or if you’re a practicing professional who is looking to learn about this unique approach to nail art.
In this article, we will cover the following topics: What is a Russian manicure? How is it performed? What tools are used? How does a Russian manicure differ from a regular manicure? Where can one learn Russian manicure techniques?
What is a Russian Manicure?
A Russian manicure (or pedicure) is a nail care method, a technique for cuticle treatment and the removal of excess skin around the nail plate. It is also known as a combined or dry manicure.
This technique employs electric drills with a diameter of 2-3 mm, in addition to traditional tools (clippers/scissors).
The hardware manicure includes the reduction of the eponychium (the living skin at the base of the nail plate). This helps prevent the appearance of hangnails and slows down the growth of the cuticle.
The service also includes impeccable coating with gel polishes and nail art. The coating lasts longer than a traditional manicure, allowing salon visits to be reduced to 1-2 times a month.
1. What Is So Special About A Russian Manicure?
The technique of gently sanding dead skin cells using drills ensures that the cuticle does not grow back for 2-3 weeks or longer.
2. How Long Does a Russian Manicure Last?
3-4 weeks. With careful handling, the gel can last up to 6 weeks. The duration depends on the nail growth rate, chosen shape, and the way they are cared for.
3. Who Should Get a Russian Manicure?
A Russian manicure is an excellent option for people with weak or damaged nails. The application of gel polish adds additional strength to natural nails, promoting healthier growth.
4. Why is Russian Manicure More Expensive Than Regular Manicure?
The cost includes nail preparation, necessary equipment, and high-quality non-toxic materials. Therefore, a hardware manicure is slightly more expensive than traditional gel or acrylic coatings.
5. What is Required for a Russian Manicure?
- A manicure machine. It requires various drills (attachments) of different hardness levels.
- LED or UV lamp for curing gel polish.
- Alcohol and lint-free wipes. For cleaning hands from nail dust.
- Dehydrator and primer. They ensure the durability of the coating.
- Base, colored gel polishes, top coat. Components of a quality coating.
What Tools are Required for A Russian Manicure?
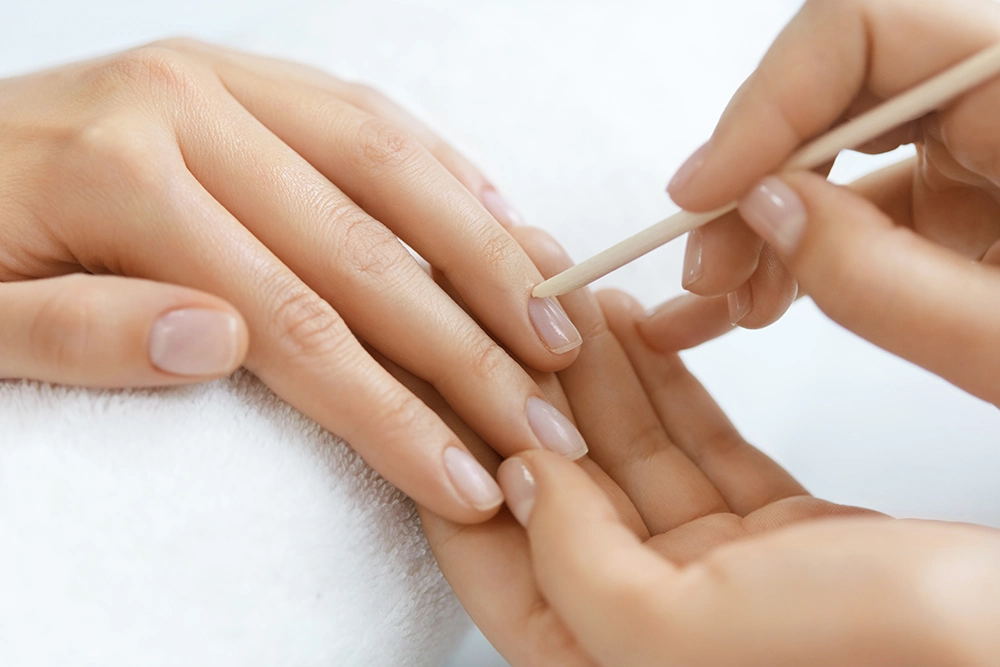
- Pusher and orange sticks. Tools for pushing back the cuticle in the form of a shovel/spatula.
- Set of electric drills. For polishing the cuticle or removing old coatings.
- Files/buffs. For shaping the nail plate. It’s better to use models with replaceable disposable overlays. Changed after each client, they are sterile and safe.
- Brush. For sweeping away nail dust after working with drills/files.
- Manicure scissors. Used in extreme cases for trimming tough or moist cuticles.
Tools must be sterile
The technique of hardware care includes invasive procedures (cuticle removal). There are also risks of skin injury. To prevent client infection, all non-disposable tools (pusher, drills, scissors) must undergo sanitary treatment.
Clean all tools in an ultrasonic cleaner. Sterilize them in a disinfecting solution for at least 10 minutes. The solution should contain at least 70% isopropyl or ethyl alcohol. If the drills allow thermal sterilization, autoclaves or dry heat sterilizers can be used for disinfection.
After cleaning and sterilizing, pack the tools in disposable bags. Open them in the presence of the client.
Process of a Russian manicure and pedicure
In the process of performing a Russian manicure and pedicure, meticulous attention is given to the treatment of the cuticle and nail plate, using specialized tools to ensure precision and care. This stage involves gently removing excess cuticle and shaping the nail plate, laying the foundation for a polished and refined appearance.
Cuticle and Nail Plate Treatment
1. Disinfection
Before the client arrives, disinfect the work table and manicure tools.
Before starting, wash the client’s hands with warm water and soap. Dry them thoroughly with a towel. Then, wipe the client’s hands with an antiseptic and remove excess moisture with a lint-free wipe.
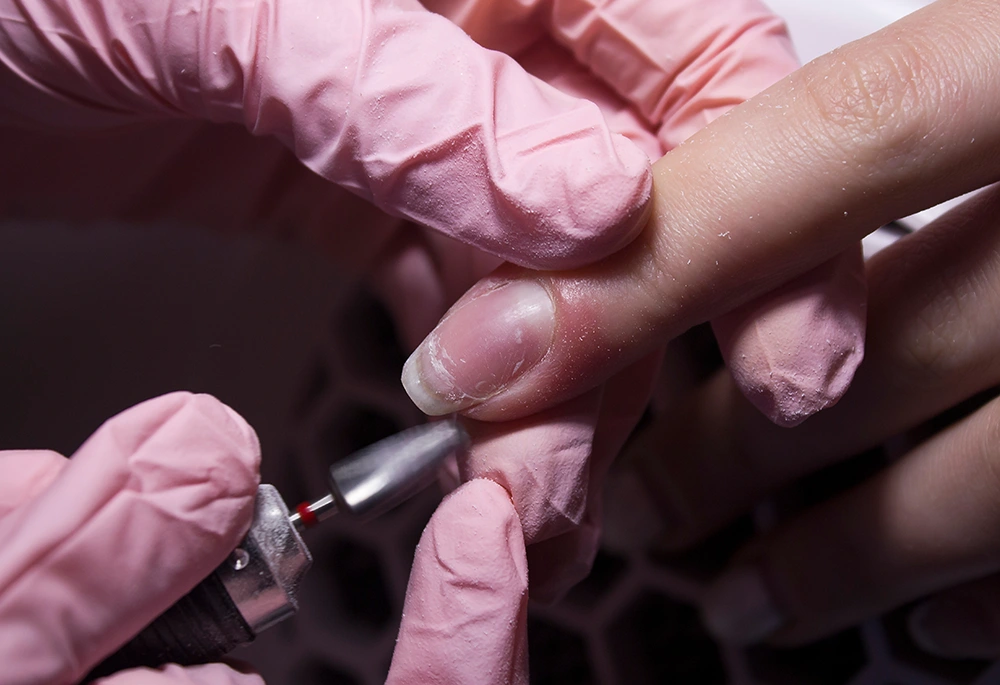
2. Removal of Previous Coating
Grind off the old gel polish with a drill at a speed of 30,000-35,000 RPM using either a “rounded cone” or “corn” bit. Make clear, long movements from the grown edge to the free edge, controlling the pressure of the bit. Leave 5-10% of the previous base. Finally, brush off the nail dust and disinfect with antibacterial gel.
During removal, the client should not experience discomfort. Position the drill parallel to the nail plate; it should not press into the nail or “dig” into the coating.
3. Filing the Shape
Discuss with the client the nail shape they desire (a natural shape, rounded, square, oval, ballerina, almond, stiletto). Create the chosen shape using a file of the appropriate grit (110-170 grit for nails with a base, 180-280 grit for natural nails, 280-390 grit for brittle nails).
4. Opening the “Pocket” of the Cuticle
Prepare the nail plate for subsequent hardware processing.
Push back the cuticle with a pusher or an orange stick. To do this, press the tool into the cuticle in the middle. With short, pressure-free movements, push it towards one lateral fold and then the other.
Avoid opening the pocket with a drill, as this can cause the cuticle to grow back faster.
5. Removal of the Pterygium (Lower Part of the Cuticle)
Lift the cuticle with a “flame” or “cone” shaped drill at a speed of 15,000-17,000 RPM. The cuticle should stand up like a “skirt”. Move the bit diagonally with short movements. Remove the pterygium from the center of the nail to the sinus first in one direction, then the opposite. Finally, thoroughly clean the cuticle area and remove dust with a brush.
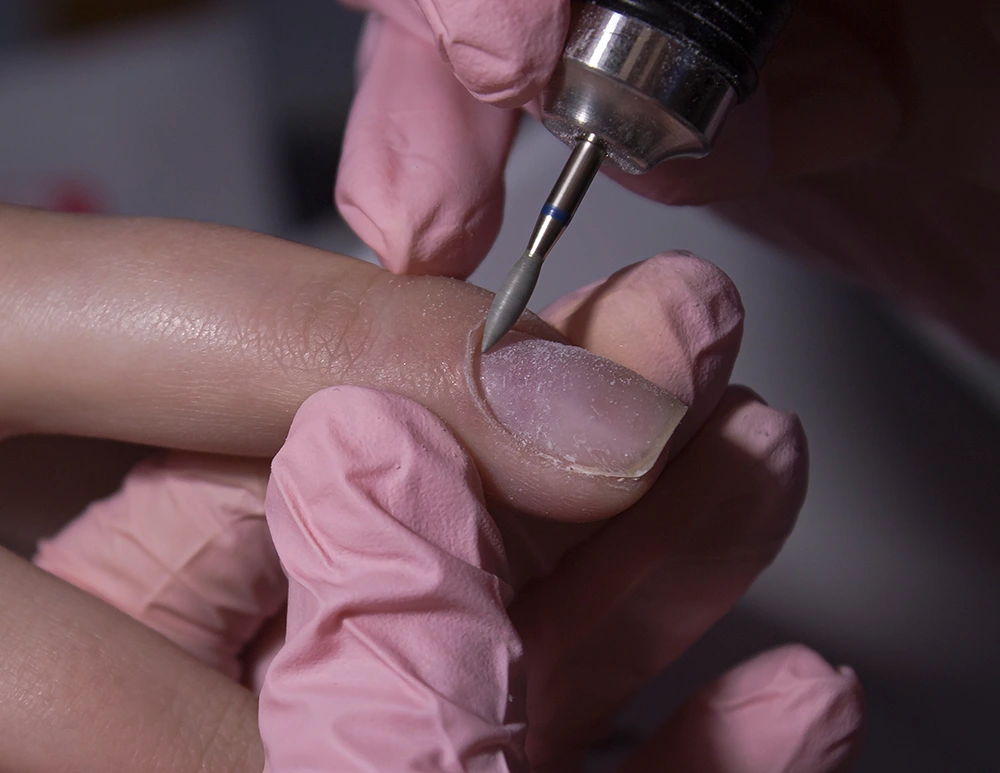
6. Cutting the Cuticle
Carefully cut the cuticle with a “rounded cone” or “sphere” shaped drill at a speed of 5,000 to 10,000 RPM, applying minimal pressure. This way, the cuticle will come off in a thin strip. Smooth the cut line by positioning the bit perpendicular to the nail plate.
Clean the grooves and lateral folds from dry skin particles. Use a “needle” bit.
After processing, thoroughly clean the skin from dust using a brush, lint-free wipes, and alcohol.
What Should I Not Do During A Hardware Manicure?
- Do not moisturize the cuticle before removal. The drill can catch on the moist skin and cause cuts.
- Do not keep the drill in one place for more than 3-4 seconds to avoid injuring the skin.
In the Nail Tech Program course, you can learn the basics that will help avoid mistakes from the very beginning.
To learn how to perform a clean hardware manicure, practice, time, and quality tools are needed. Therefore, we provide models for skill training, necessary materials, and practice in salons with modern equipment.
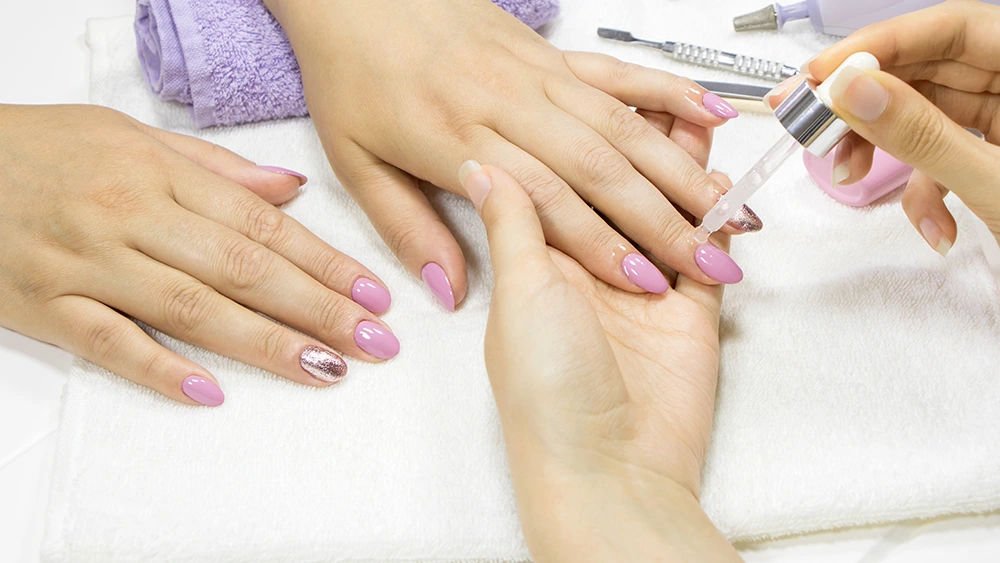
Applying the top coat
1. Nail Preparation
Apply a dehydrator and primer to the free edge of the nail. Air dry for about 1 minute. This step ensures better adhesion of the gel polish to the nail.
2. Nail Plate Leveling
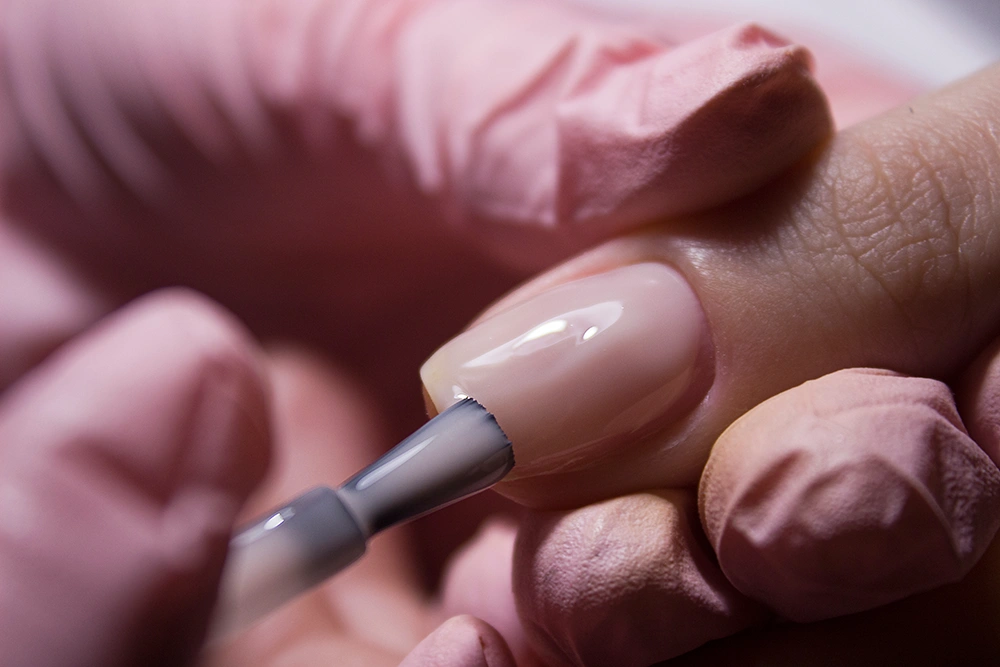
Apply a thin layer of base coat. Ensure the product is applied evenly. Cure each nail separately in the lamp for 1 minute.
Avoid covering all nails at once and curing them together, as this can cause the product to run onto the skin.
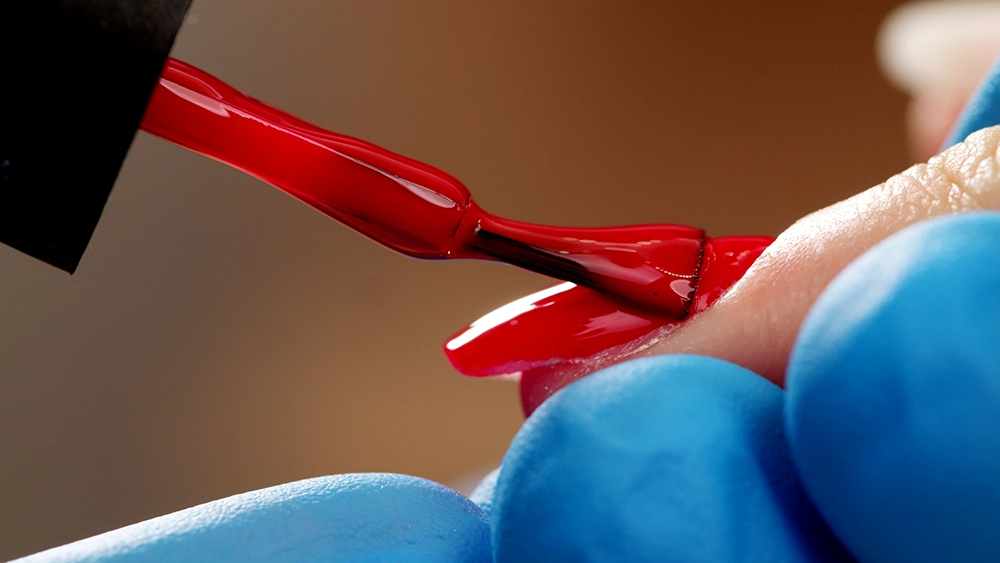
3. Applying Gel Polish
Apply the gel polish in the center of the nail and gradually stretch it towards the edges with a brush. Aim for a thin, even coating. Use a fine brush for areas near the skin to avoid flooding.
If one layer is not enough (color is not bright or streaks appear), add a second layer. Cure each layer in the lamp for about 1 minute.
Create nail art using stickers, foil, rhinestones, or a brush with colored gel polishes.
4. Applying the Top Coat (Final Coating)
Apply a thin layer of the top coat over the entire nail surface and the free edge. Cure it in the lamp for 1 minute. Remove the sticky layer of the top coat with a cleanser or alcohol.
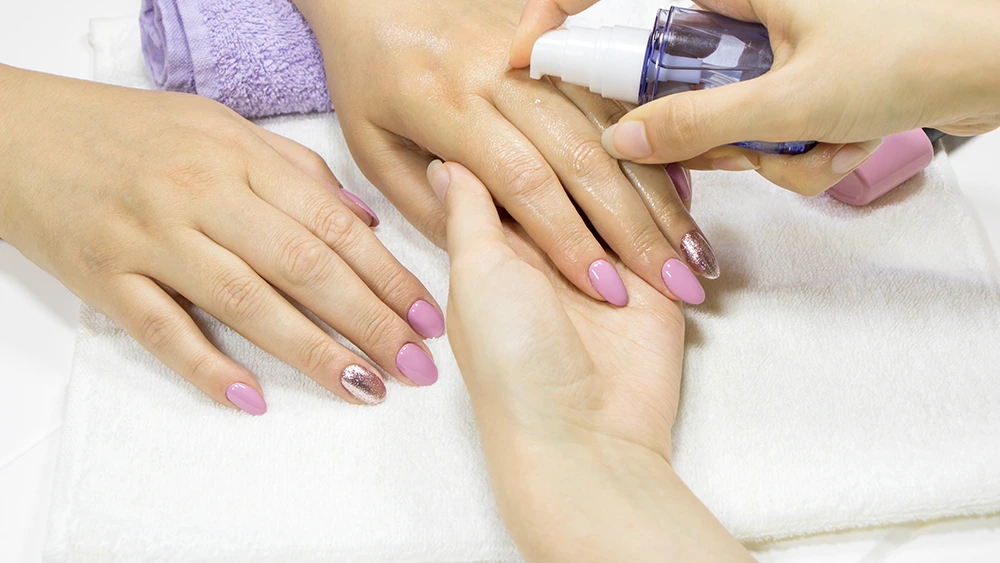
5. Moisturizing and Massage
Apply oil or a moisturizing agent to the lateral folds and posterior nail fold. Massage the cuticle to improve circulation. This prevents the skin around the nail from drying out.
6. Completion
After the session, give the client nail care recommendations. Thank them for their visit and suggest booking the next appointment in 3-4 weeks to maintain the manicure’s appearance.
How Should You Care for the Manicure?
- Avoid wetting the nails for 2-3 hours. Avoid showering or visiting saunas immediately after the manicure. Gel polish needs time to fully set. Moisture and temperature changes can lead to microcracks, making the coating brittle.
- Apply oil for cuticle hydration. Post-manicure, the skin around the nail needs nourishment and hydration, as it becomes sensitive and prone to drying out.
These are just some of the recommendations. Learn more after training in the Nail Tech Program at Prestige Health & Beauty Sciences Academy from top experts in the field.
Hardware Manicure Safety
A Russian manicure is safe when performed by a nail tech licensed professional who adheres to safety techniques, sanitary standards, is trained in using drills, and has undergone practical training.
The tools do not pose a threat if they are used correctly, cleaned, and sterilized in a timely manner.
Without serious training, a specialist risks injuring the client’s skin and nail plate, causing bleeding, and potentially an infection.
Advantages of A Russian Manicure
- Clean Results. Various attachments allow for the removal of pterygium, cleaning under the cuticle, and in the grooves near the lateral nail folds.
- Minimal Risk of Skin Injury. Since there is no need to soak and soften the skin, it is easier to work with and less prone to injury.
- Perfect Nail Architecture. Leveling with gel enables precise correction of the nail plate’s shape.
Russian Manicure vs. Regular Manicure
| Russian Manicure | Regular manicure | |
|---|---|---|
| Main Tools for Cuticle Work | Drills, pushers, orange sticks | Manicure scissors, pushers, orange sticks |
| Materials | Gel polishes | Regular polishes or acrylic gels |
| Cuticle Treatment | Dry removal of cuticle and pterygium. Cleaning grooves, polishing lateral folds. Creating a "clean" appearance | Softening the cuticle in water and trimming with scissors |
| Coating Technique | Primer, base, gel polish, and top coat | Base, colored polish, and top coat |
| Session Duration | 2 hours | 30 to 60 minutes |
| Wear Time | 3-4 weeks | 7-10 days |
Conclusion: The Russian manicure takes more time, but the technique allows for complete removal of skin around the nails. After a hardware manicure, nails and cuticles grow slower than with a regular manicure, allowing for longer intervals between salon visits.
Difference Between Russian and French Manicure
- The Russian manicure focuses on removing excess skin around the nails for a clean look.
- The French manicure is a design style (pink or beige nails with a white tip).
Where Can I Learn More About The Russian Manicure?
Prestige Health & Beauty Sciences Academy trains and graduates qualified nail technicians. The curriculum combines theoretical knowledge with practical skills. The Nail Tech Program is suitable for beginners in nail services and for practicing professionals seeking to upgrade their skills.
The training lasts 180 hours over 2 months. You will learn to perform hardware manicures, nail extensions, gel polish application, create complex nail arts, 3D designs, and use rhinestones.
Advantages of Training at Prestige Health & Beauty Sciences Academy
- Provision of necessary materials and tools for immediate immersion in training.
- Practical experience in a salon. You will learn from practicing professionals in 5-star salons.
- Creation of a professional portfolio. You will explore the business aspects of manicure.
- Employment opportunities. After a nail tech course, you may potentially work in one of our partner salons.
What is Included in the "Russian Manicure" Course?
Theory:
- Safe removal techniques of old material
- Combined manicure
- Nail architecture (leveling)
- Correction of nail peeling
- Gel nail extensions
- Nail shaping
- Nail plate strengthening
- Perfect coating under the cuticle
- 2 methods for repairing a broken or cracked nail
- Design with sliders
- Smart pedicure
Practical Training:
- Removal of artificial material
- Performing hardware/combined manicure
- Lifting biting or curled nails
- Strengthening and restoring the nail plate
- Extensions with gel tips and upper forms
- Artistic nail art using sliders
- Stamping technique in design (creating French manicure)
- Pedicure of toes and feet (smart disk)
Marketing and Social Media:
- Proper photography of manicure and pedicure
- Creating an attractive Instagram profile
- Client attraction and Instagram profile management
Specialization:
- Masterclass on popular designs, including 3D design and proper rhinestone placement
- Independent practice of manicure and pedicure
Is a Nail Tech License Provided After Training?
Yes. The meticulously designed curriculum strictly adheres to Florida’s educational standards and qualifies for licensing. Requirements include completing the accredited training program.
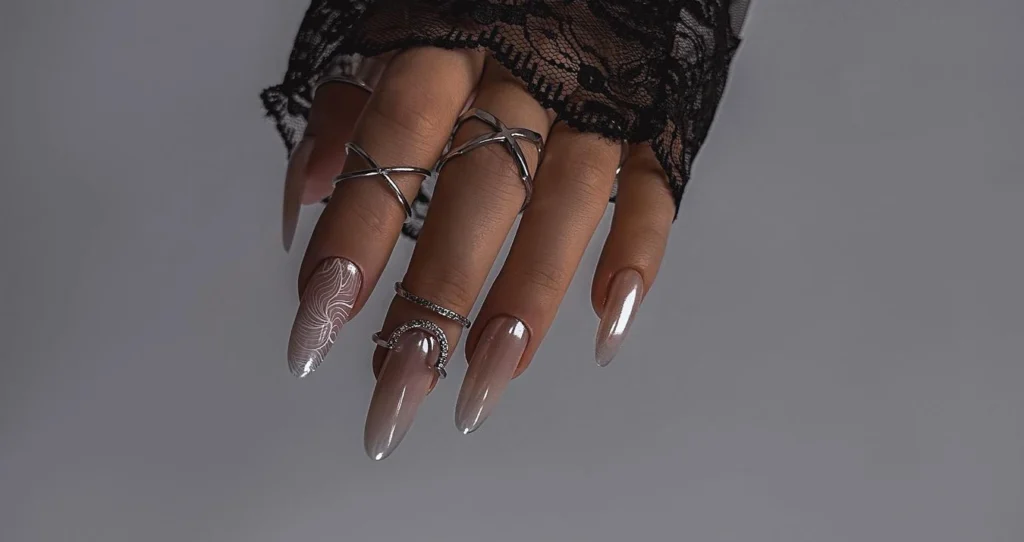
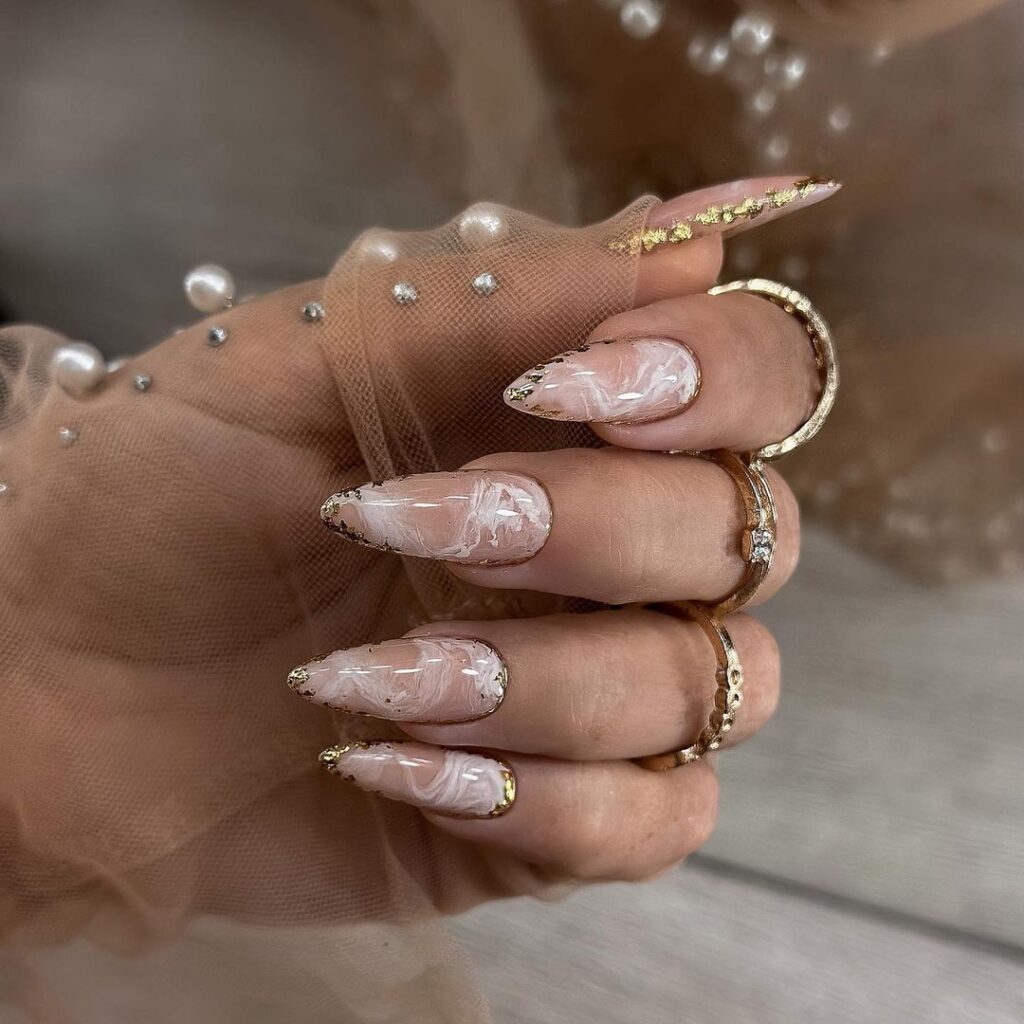
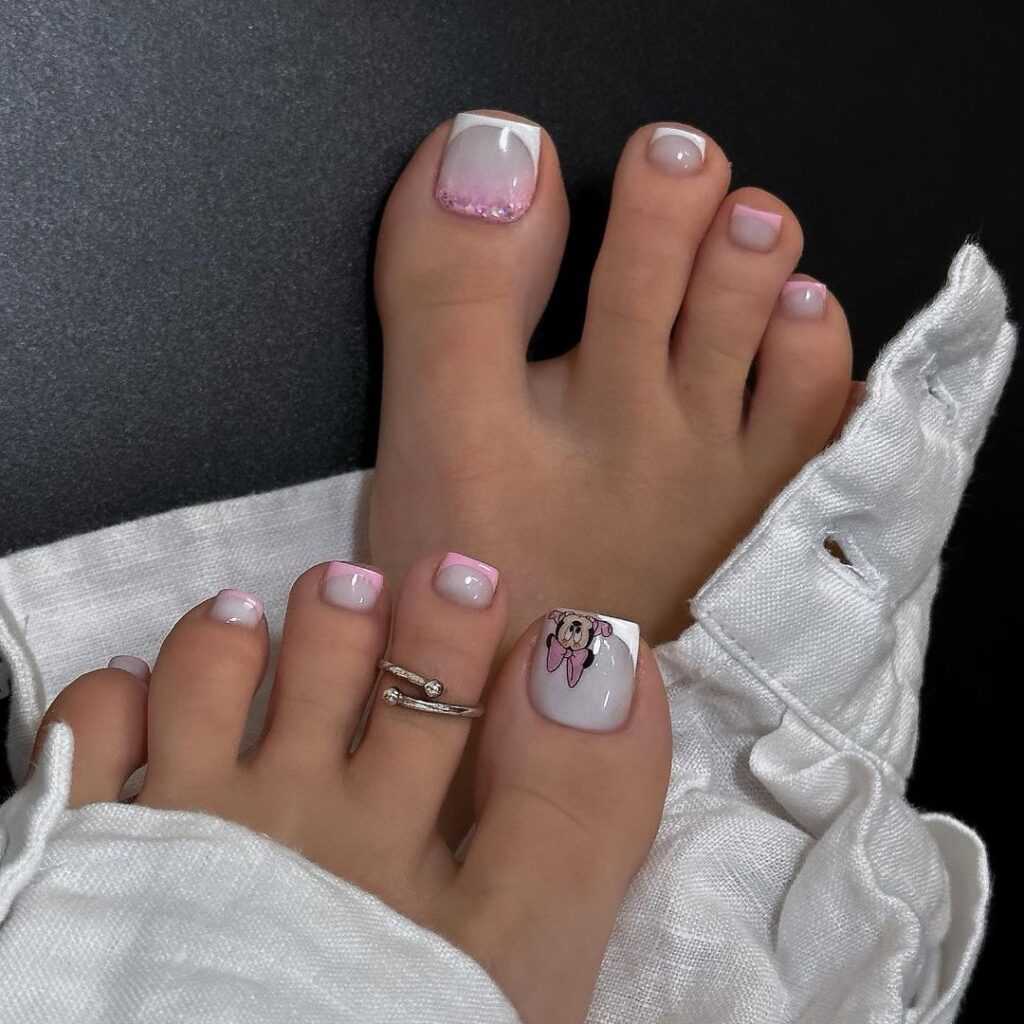
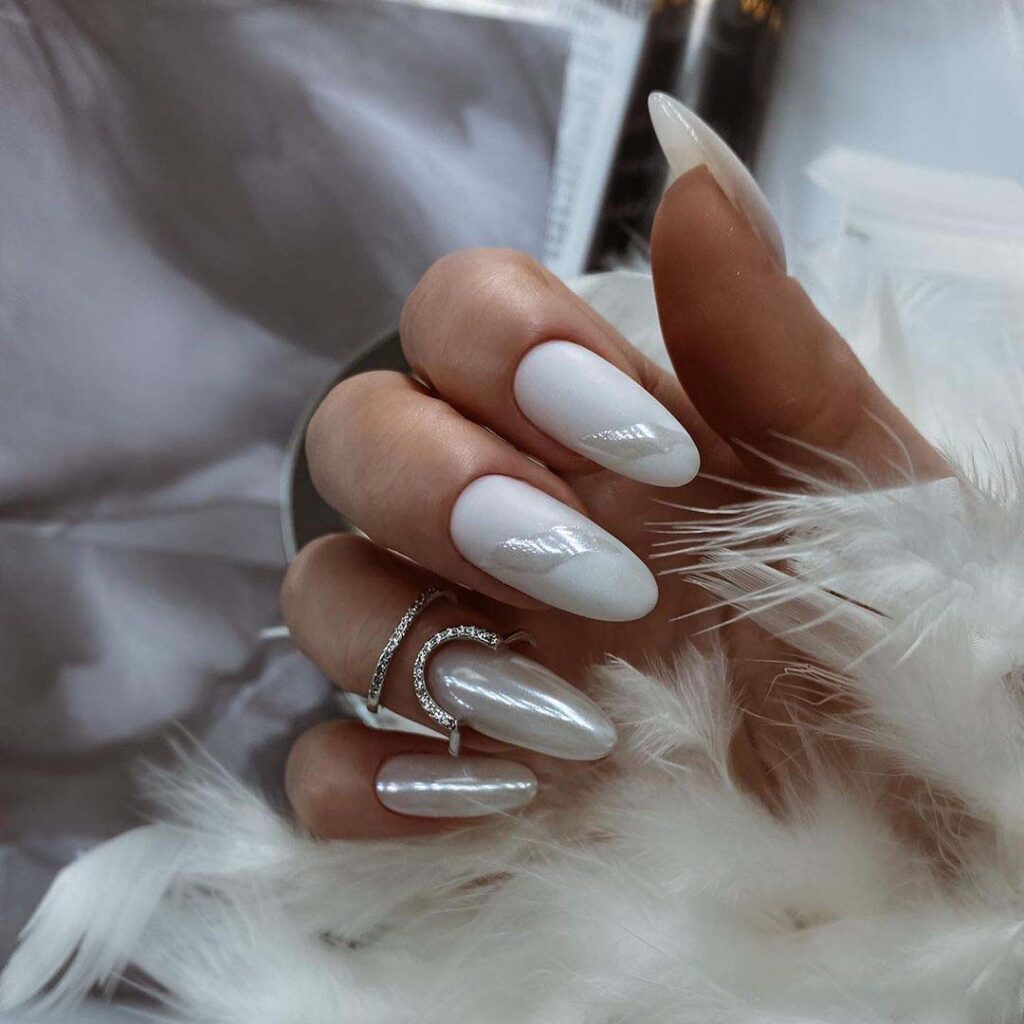
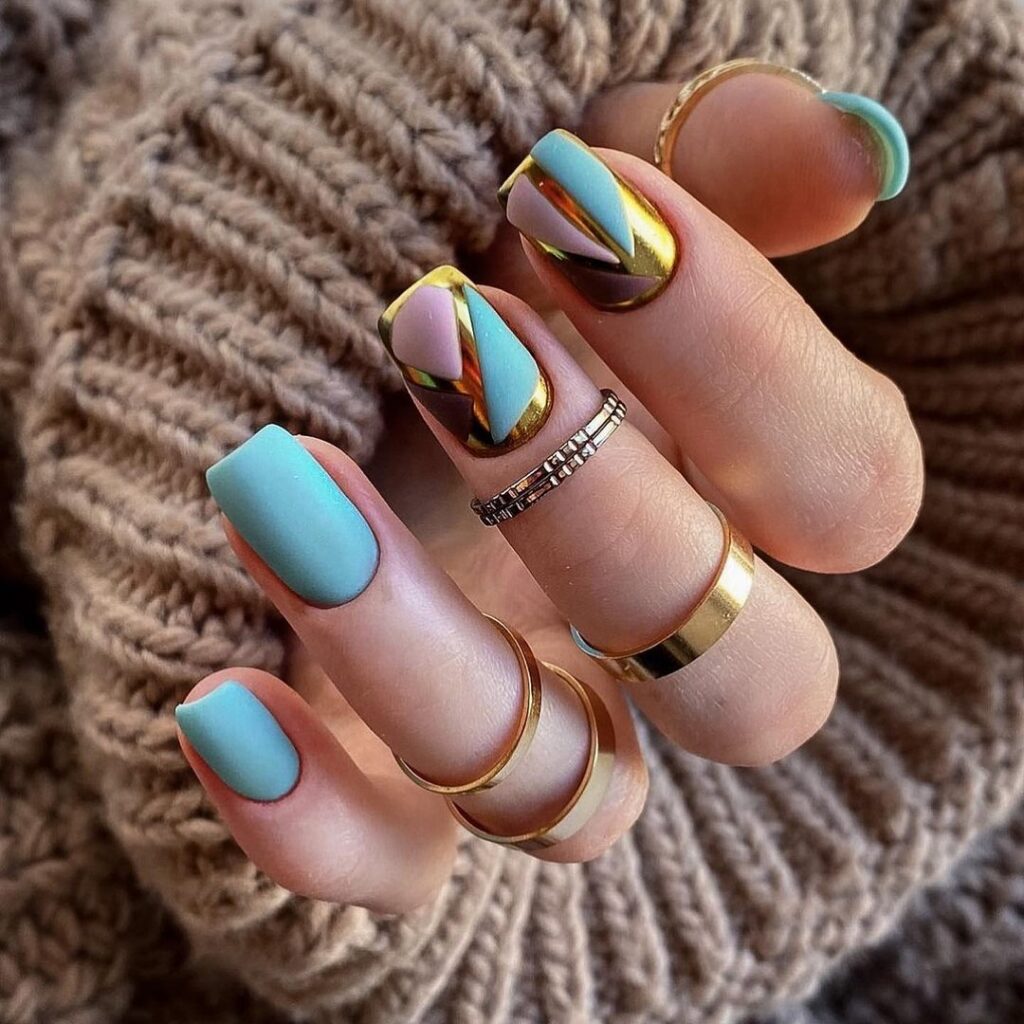
Russian Manicure – Before & After
Our students gain extensive practical experience in nail tech. These are examples of work from those who have completed the Russian Manicure course at Prestige Health & Beauty Sciences Academy.
Q&A
1. Is acrylic used in Russian manicure?
No. Toxic acrylics are not used in Russian manicure. Non-toxic gel polishes are used for coating.
2. Is it safe to get a Russian manicure?
Yes. A dry manicure is safe if performed by a qualified specialist. However, if the technique is not properly followed, there is a risk of damaging the cuticle and nail plate.
3. How to remove a Russian manicure with gel?
The removal process is performed by a professional in a salon. They grind off the artificial coating using a machine with a drill bit (taking about 2-3 minutes per finger).
It is not advisable to peel off or file off the coating yourself. Doing so can weaken the nails, making them brittle and prone to delamination.