As makeup artist instructors, we understand that beginners in makeup often go through many unsuccessful attempts to figure out what works and what doesn’t. Incorrect cosmetic choices can lead to skin inflammation, and the wrong techniques can ruin an entire look.
In this article, we will explain what products are necessary, how to accurately choose the right shade of foundation, and share other useful tips from professional makeup artists.
Makeup Basics for Beginners
Don't Forget About Skincare
Many overlook the importance of preparing the skin before makeup. Preparation helps remove impurities, smooth out texture, soften flakiness, and extend the durability of the makeup. Before applying cosmetics, use cleansing products (gels, foams), moisturizing creams, serums, and a makeup base (primer for foundation, eyeshadows).
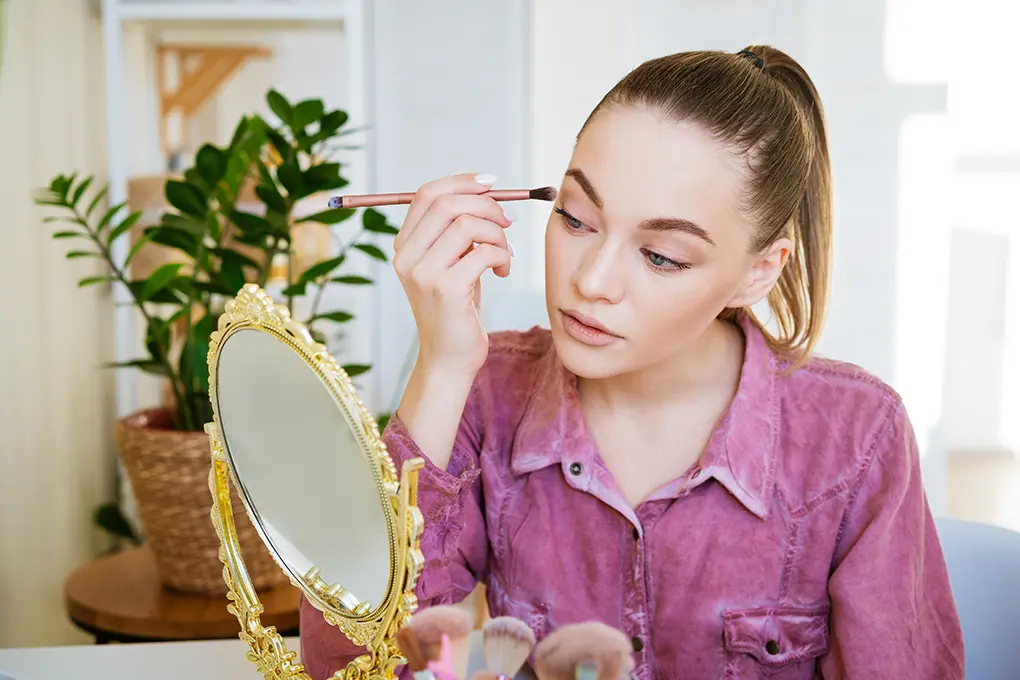
Practice Basic Techniques
Initially, there's no need to use complex styles like contouring, graphic eyeliners, or intricate eye makeup. Also, avoid applying all your makeup at once, creating a heavy coverage. Start with nude shades and a single layer of light coverage. This approach keeps the look fresh and allows you to refine your application and blending skills.
Thoroughly Cleanse Your Skin After Makeup
To prevent cosmetics from clogging pores and causing inflammation, it's crucial to completely remove them. Makeup can be removed with a two-phase makeup remover, micellar water, or hydrophilic oil.
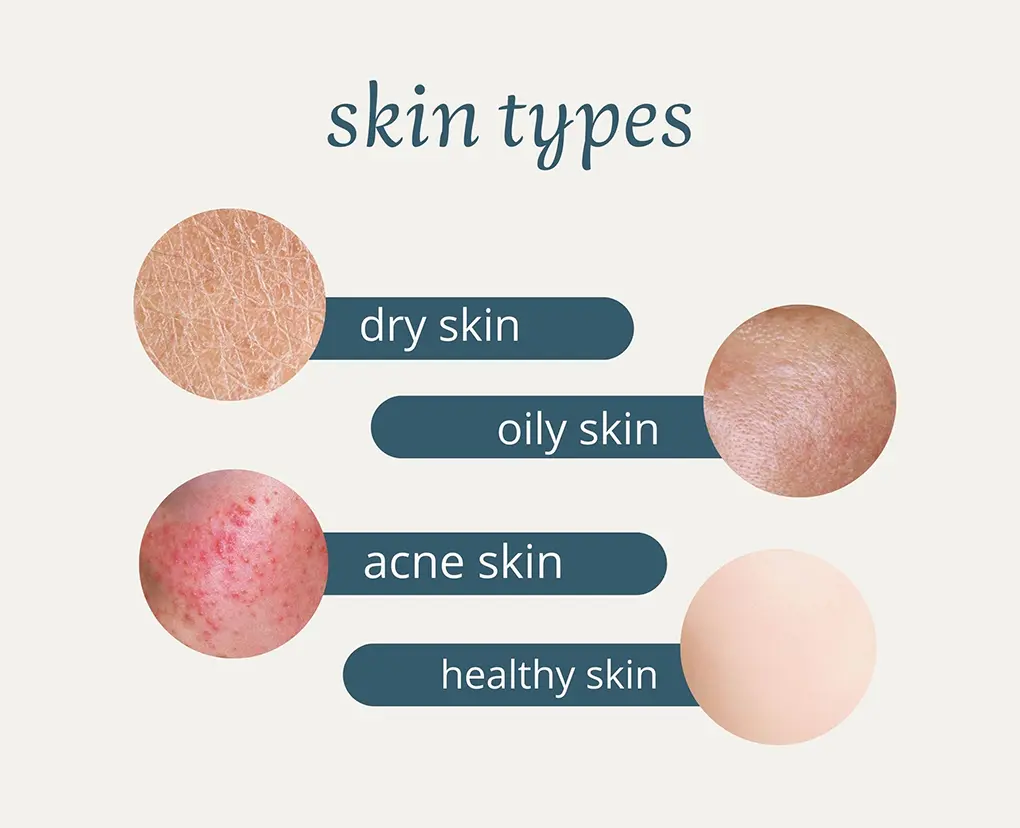
How Can You Determine Your Skin Type?
Observe the characteristics of your face:
- Normal Skin. Appears smooth and even, with no flakiness and barely visible pores. If you press a dry tissue to your face half an hour after washing, it will show only slightly noticeable oily marks.
- Dry Skin. Lacks oily shine and acne. Flakiness is highly noticeable. If you press a tissue to your face after washing, it will leave no traces.
- Oily Skin. Has visibly enlarged pores, oily shine, and may have acne. If you press a tissue to your face half an hour after washing, it will leave a greasy mark.
- Combination Skin. Oily shine is noticeable only in the T-zone (chin, nose, and forehead). Enlarged pores are also present only in these areas. If you press a tissue to your face, oily marks will appear only in the middle.
Even if you know your skin type, choosing the right cosmetics can be challenging due to the wide variety of options. To understand which products will compensate for your face’s imperfections and highlight its features, consider training with a makeup artist.
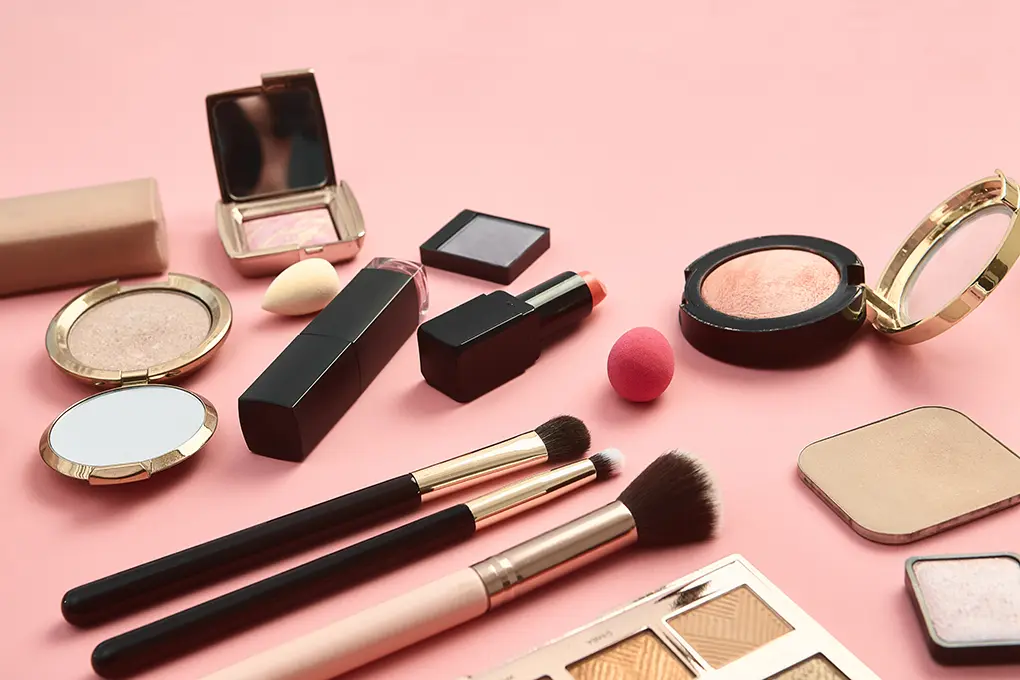
What Basic Tools are Needed to Start?
- Cleansing Product. For oily and combination skin, a gel or foam cleanser is suitable, while milky cleansers are better for dry skin. If a product is not suitable, you might feel skin tightness after washing. In this case, it’s better to switch to a different cleanser.
- Makeup Primer. A primer makes the skin smoother and more even, helping the foundation to stay on better and prevent it from settling into lines over time.
- Foundation. This is used to even out the skin tone and comes in various types:
- Fluid Foundation – Provides a thin layer, suitable for all skin types, and smooths texture.
- Cream Foundation – A medium-density cream suitable for various skin types.
- BB Cream – Combines the qualities of foundation (70%) and skincare (30%).
- CC Cream – Almost transparent, it primarily offers skincare benefits.
- Cushion Foundation – The foundation-soaked cushion is applied with a special sponge, combining the properties of foundation, BB cream, and powder.
- Mousse Foundation – Offers dense coverage, suitable for oily and problematic skin.

- Concealer. This product covers redness, under-eye circles, and other blemishes. Liquid concealer is suitable for oily and mature skin, cream concealer for dry, normal, or combination skin, and powder concealer, though less common, is good for oily skin.
There are also colored concealers-correctors. Choose the right shade using the color wheel. For example, a green color-corrector best covers redness as green is opposite red on the color wheel. Orange or pink concealer is best for dark under-eye circles.
- Blush. Choose a blush shade that matches your natural flush, which is believed to be the same color as the inside of your lips. You can also determine the right blush color by gently pinching your cheeks.
Blush texture varies too. Powder blush is suitable for oily or normal skin, while cream blush works well for dry or combination skin.
- Lipstick. For nude lipstick, choose a shade that matches the inner side of your lips.
For bright lipstick, base your choice on your color type. The simplest way to determine this is by looking at the veins on your wrist. If they are blue, cool-toned lipsticks will suit you; if they are green, warm-toned lipsticks are a better choice.
- Mascara. Mascara varies by effect:
- Volumizing mascara is suitable for sparse lashes and contains wax or silicone additives that coat the lashes.
- Curling mascara contains keratin and resins that tighten the lashes, creating a beautiful curl.
- Lengthening mascara contains silk or nylon fibers that extend the length of the lashes.
- Eyeshadow. Eyeshadows can be nude or bright.
- For a natural look, opt for a palette of beige and brown shades. Shimmery shadows can also be used to make the eyes look bigger and fresher.
- For a more vibrant look, use the color wheel again. To accentuate eye color, choose shadows of the opposite shade. For example, orange-toned shadows will make blue eyes pop, while gray or brown eyes can be complemented by any shade.
- Makeup Application Tools. Use a sponge or a flat brush with dense synthetic bristles to apply foundation. A fluffy round brush with natural bristles for applying powder and blush. A flat, rounded brush for applying eyeshadow, a conical brush or a “barrel brush” for blending. A flat brush with a narrow tip for applying lipstick.
- Makeup Remover. This can come in the form of a foam, micellar water, gel, or hydrophilic oil. Choose a cleansing method that suits your skin. After using makeup remover, there should be no feeling of skin tightness. Also, if you wipe your face with a white tissue, there should be no makeup residue.
Additionally, you can purchase other products – eyeshadow primer (to prevent eyeshadow from falling out or creasing), highlighter, bronzer, sculptor, kajal (soft pencil for coloring the waterline), eyeliner, gel, pencil or pomade for eyebrows, lip pencil, powder, makeup fixative.
How to Apply Makeup – A Step-by-Step Guide
Any makeup, whether it’s for daytime or evening, can be achieved in a few universal steps:
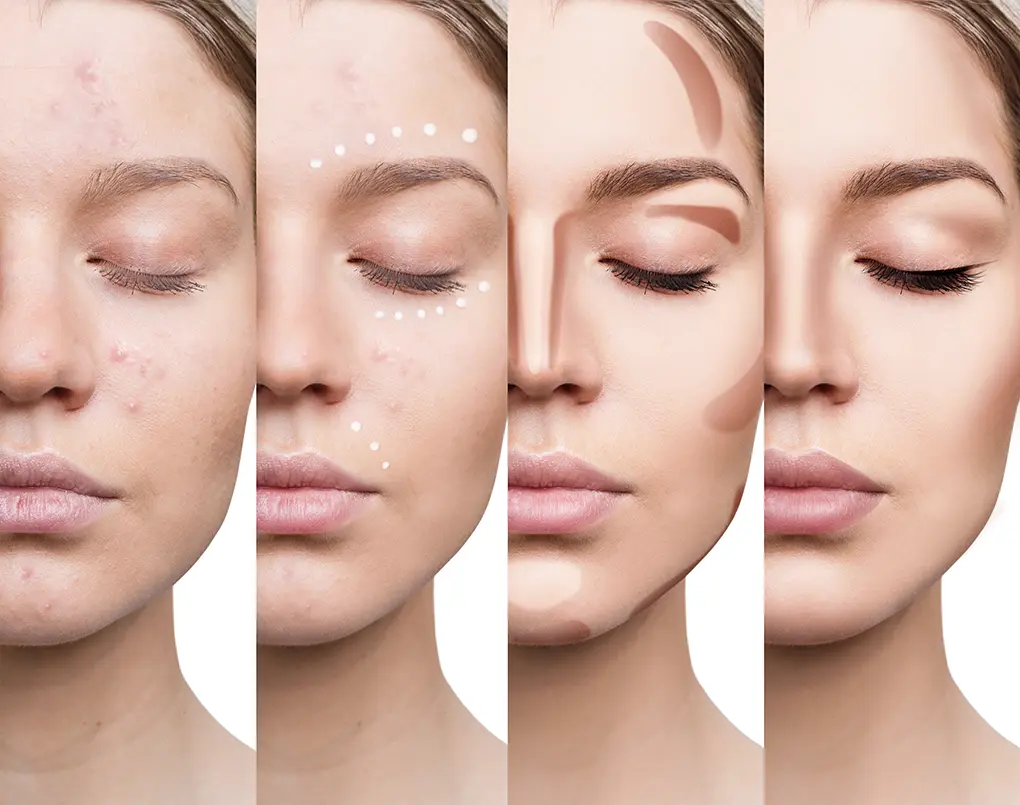
Preparation and Skin Tone Evening
- Cleanse and Moisturize: Start by cleaning and moisturizing your skin. This prepares it for makeup application.
- Apply Primer: Next, apply a makeup base or primer. This will even out the skin’s texture.
- Foundation and Concealer: Apply your foundation evenly across your face. Use a concealer or corrector to cover any blemishes or imperfections. Blend the coverage well to ensure the tone looks even.
- Blush: Smile and apply blush to the apples of your cheeks. This adds a natural flush of color.
- Highlight: Optionally, you can highlight the inner corners of your eyes, the tip and bridge of your nose, and the Cupid’s bow of your lip with a highlighter for added radiance.
For daytime makeup, opt for light foundation products with a natural, satin finish. For evening makeup, you can use a denser foundation for more coverage.
Eye Makeup
For Daytime Makeup:
- You can use mascara or add a bit of sparkle to the inner corners of your eyes with a highlighter.
- Applying subtle brown eyeshadow in the crease of the eyelid can visually enlarge the eyes.
For Evening Makeup:
- Start by applying an eyeshadow primer to the eyelids. This ensures the eyeshadow stays in place without creasing or flaking.
- Use a makeup pencil to fill in the waterline. This technique adds depth to your gaze.
- Blend eyeshadows from darker shades near the lashes to lighter shades towards the brows, creating a “smoky eyes” effect.
- You can also create a gradient from the outer corner of the eye (using darker or brighter shades) to the inner corner (using lighter shades). Often, eyeshadows are complemented with graphic eyeliner.
Defining Eyebrows
When coloring eyebrows, it’s important to be subtle to avoid making them look overly bold. Use a pencil, pomade, or shadow that is one shade darker than your hair color. Blend the product so that the start of the brow near the bridge of the nose is lighter than the middle and the tip.
If you’re unsure about the shade of the eyebrow pencil or pomade, you can opt for the “French style.” Apply a clear gel to the brows and set the hairs in the desired position. This approach is suitable for a light, daytime makeup look.

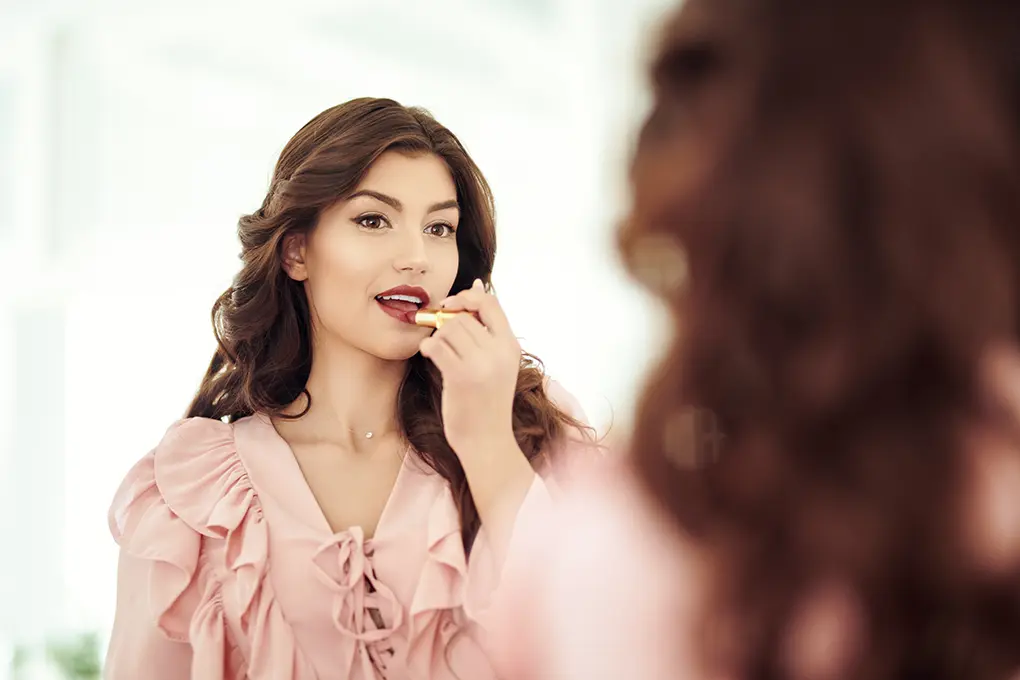
Lip Makeup
Lip makeup should complement your eye makeup. For instance, if you’re doing a natural daytime look, use a lip gloss or nude lipstick.
For evening makeup, choose a focal point. If you have bold eye makeup, opt for a lipstick or gloss in calm, natural shades. To emphasize the lips, use a bright or matte lipstick.
Before applying bright lipstick, outline your lips with a pencil to create a neat, correct shape. Apply lipstick not just to the colored, but also to the physiological lip contour (the colorless but voluminous part of the lips).
For thin lips, a light lipstick with a glossy finish is suitable as it visually adds volume. For fuller lips, matte or cream lipstick in darker tones can be used.
Makeup artists have many hacks for applying makeup, but not all professionals share their mastery secrets. At the Prestige Health And Beauty Sciences Academy, practicing makeup artists teach. They share real-life cases from their experience, demonstrate how to apply knowledge in practice, and correct mistakes if you make any.
Advanced Makeup Techniques
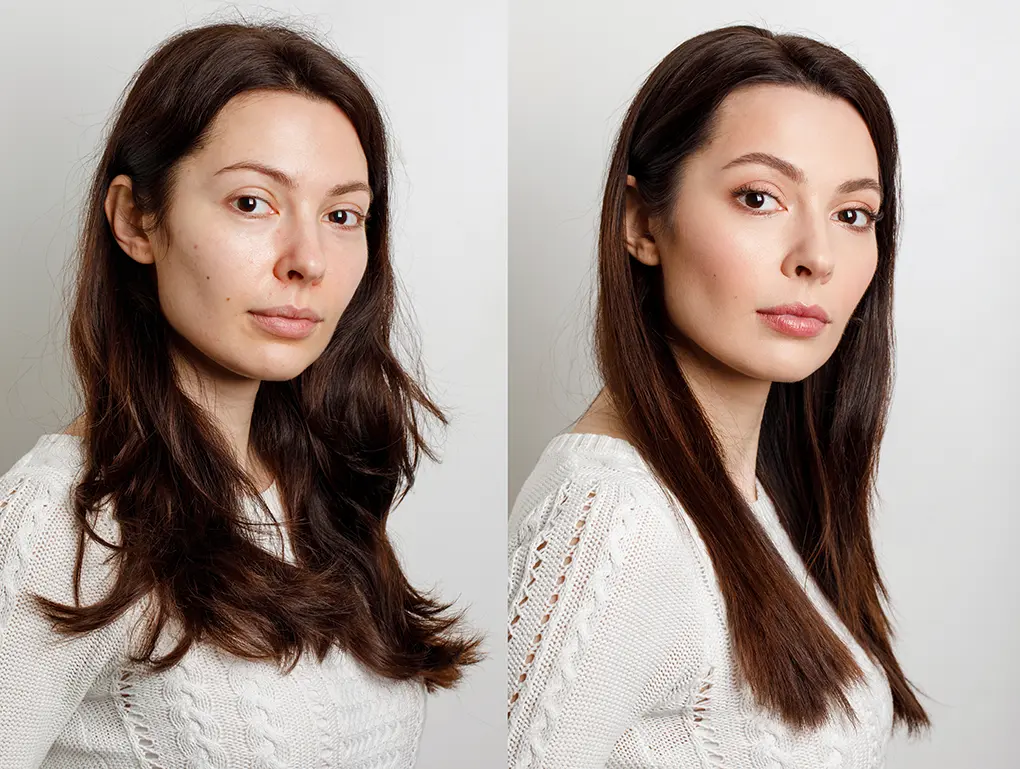
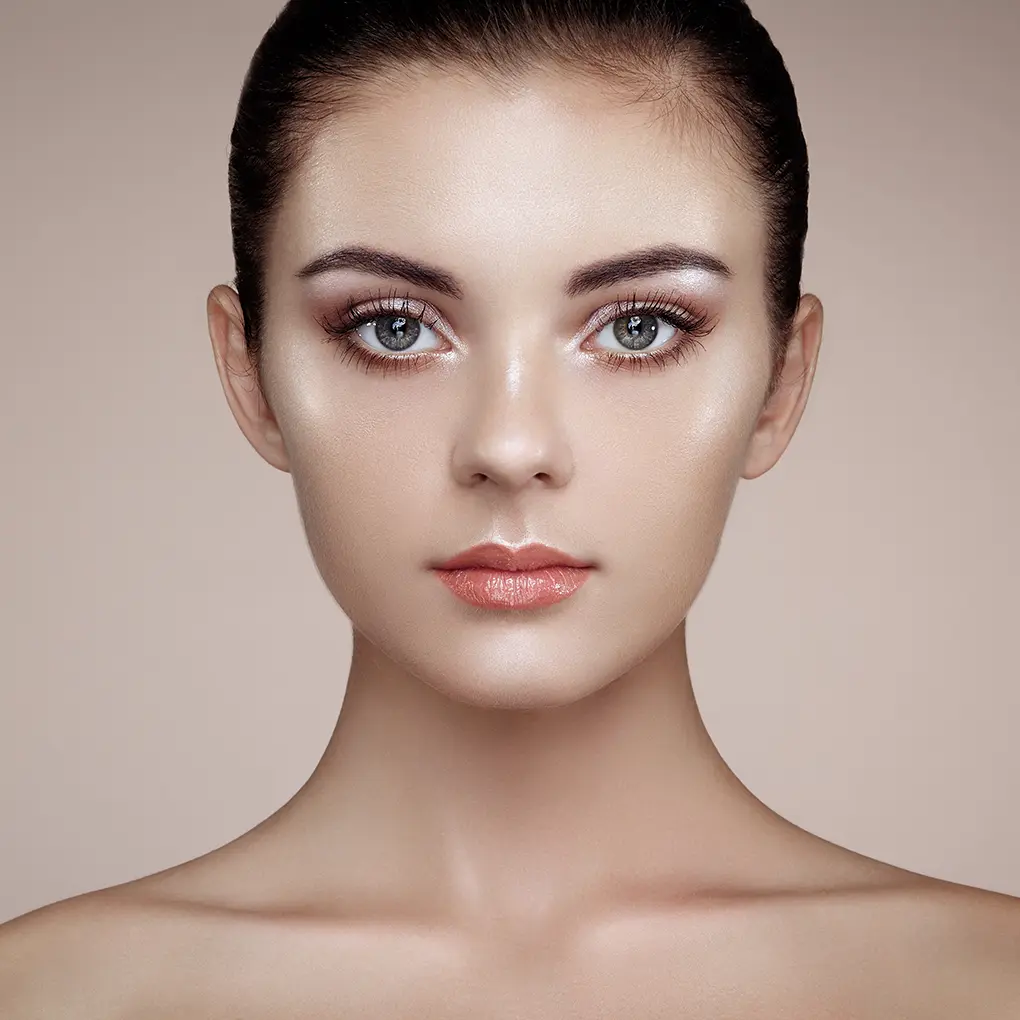
No-Makeup Makeup
A recent trend is the ‘no-makeup’ makeup look. The goal is to make the skin appear radiant with a light blush, creating an overall sense of effortlessness. It’s about achieving a natural effect, like you’re fresh from a relaxing vacation.
How Can You Achieve This Look?
- Use a light foundation with a satin finish.
- Apply blush in a natural shade.
- Use brown mascara for a softer eye look.
- Choose a nude lipstick.
- Use a brow gel for a neat but natural brow appearance.
Contouring
The essence of contouring is to enhance the natural relief of the face. It can create the illusion of sharper cheekbones, a narrower nose, a less broad forehead, and a more defined chin. This is achieved using two shades: one darker than your skin tone with a grayish undertone (mimicking natural shadows) and one lighter (matching the illuminated areas of the face).
How Should You Use Contouring?
- Apply the darker product – a sculptor, bronzer, or blush (whichever shade suits you best) – below the cheekbones, on both sides of the nose bridge, along the hairline on the forehead, and along the jawline. Blend these areas thoroughly.
- The lighter product – a highlighter – should be applied to the bridge of the nose, the center of the forehead, and in triangular shapes under the eyes.
Strobing
Strobing is a technique that creates an effect of fresh and radiant skin. The key product for strobing is a highlighter. For normal, smooth skin, a liquid or cream highlighter is suitable. For dry or oily skin with flakiness or other imperfections, a powder highlighter is more appropriate.
Highlight the protruding areas of the face with a highlighter. These areas include the bridge of the nose, the center of the forehead, the fullest part of the cheeks, the Cupid’s bow, the chin, and the areas under the brow bone and above the eyebrows.
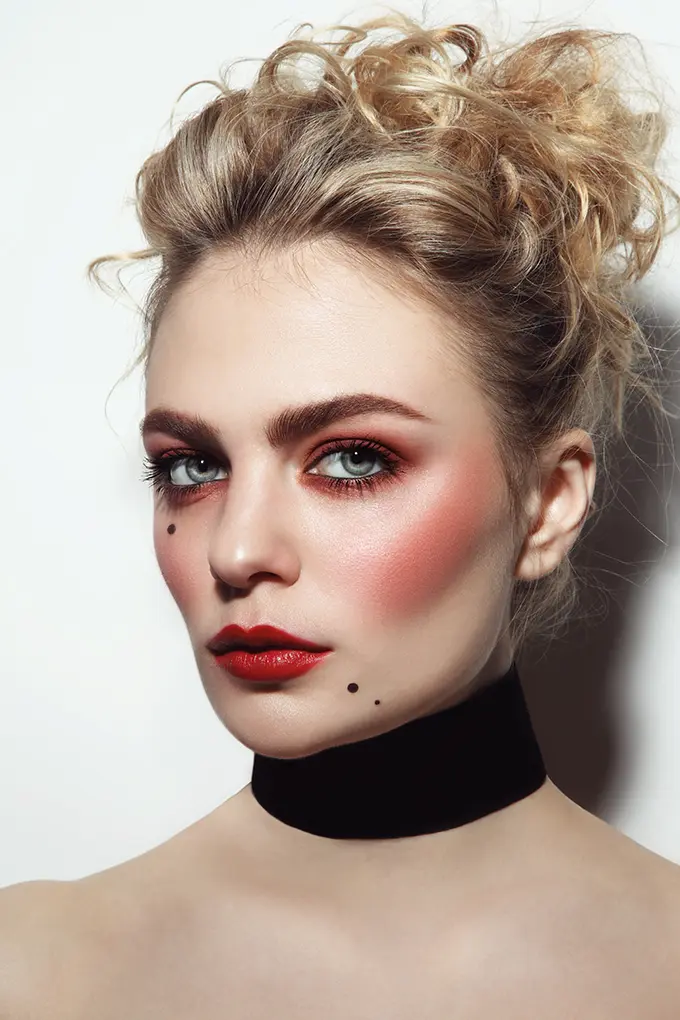
Draping
Draping is a method of accentuating facial features using blush. This makeup style appears vintage and charming. It’s particularly suitable for winter, as it creates an effect of frosty freshness on the cheeks.
How Do You Use Draping?
- Apply darker blush under the cheekbones (similar to where you would normally apply a sculptor).
- Apply lighter blush on the apples of the cheeks, slightly extending towards the temples.
- Use a highlighter to accentuate the protruding part of the cheekbone.
How Can You Overcome Makeup Problems?
Lack of Skin Care
If proper skin preparation is skipped, the skin may flake, and foundation can settle into pores, leading to a flawed makeup application.
How can you avoid this? Simply do not skip proper skin preparation and the application of a makeup base.
If you enjoyed the article so far, consider training with a professional and starting a career in this field.
Heavy Layering of Cosmetics
Excessive layering of products can lead to a mask-like sensation. This is not only uncomfortable but also aesthetically displeasing. Gradually, such makeup can smudge, spread, or accentuate all skin imperfections.
How can you avoid this? For daytime makeup, especially in hot weather, use lightweight, airy products. You might consider skipping powder, concealer, or other cosmetics that add extra weight.
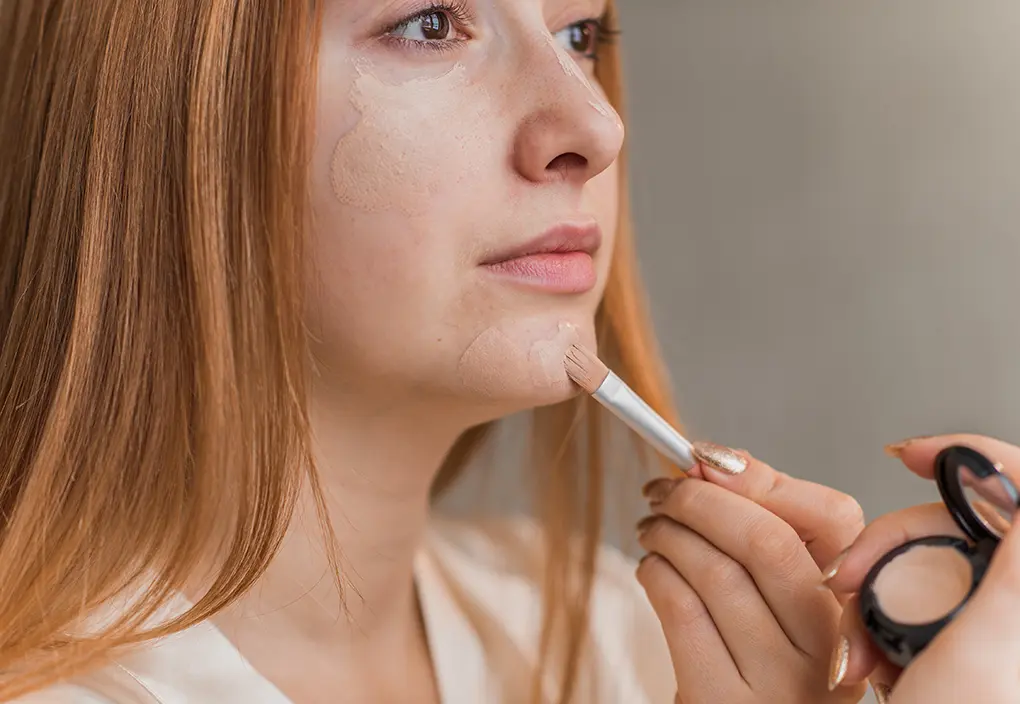
Noticeable Contours
Choosing a foundation shade that doesn’t match your skin tone or failing to blend it properly can result in a visible line between your neck and face. This error often becomes more apparent in photographs with flash.
How can you avoid this? To achieve a more natural appearence, test the product in advance. Apply it on the back of your hand to see how well it matches your skin tone. Then, try applying the foundation on your cheek and observe how it looks under natural and bright artificial lighting. Even if the shade seems right, don’t skimp on blending to ensure your face doesn’t appear lighter than your neck.
Facial Spots
Using a concealer that is too light, a sculptor or blush that doesn’t match your skin tone, or failing to blend the product thoroughly can result in spots on the face, making the makeup look more like stage makeup.
How Can You Avoid This? Choose products that match your skin tone and shade. If you’re unsure about your choice, seek advice from a consultant in a cosmetics store or a professional makeup artist. Regardless, always take the time for thorough blending, using quality soft brushes.
Too Matte or Too Shiny Textures
Excessively matte or shiny textures can highlight skin imperfections. Overusing powder can accentuate flakiness and uneven skin texture. Applying highlighter almost all over the face can create an oily shine.
How Can You Avoid This? Apply a moderate amount of powder to broad areas (cheeks, forehead, jawline). Use highlighter only on the raised areas (tip and bridge of the nose, under the brow area, cheekbone corners, tip of the chin, Cupid’s bow).
Overly Bold Eyebrows
Some people make their eyebrows too wide, dark, or defined, which can give the impression that they are drawn on. Such eyebrows can also make the gaze appear heavier and the face more stern.
How Can You Avoid This? Base your eyebrow makeup on their natural shape and your hair color. Don’t draw the eyebrow contour higher than its natural line. Instead of fully coloring the brows, use fine brushes or a pencil to mimic hair strokes.
Incorrect Eye Makeup
Eye makeup is a complex subject, and several mistakes can be made:
- Using Eyeshadow Matching Eye Color: The natural color of the eyes is more complex than bright eyeshadow shades. For example, green eyes might look dull and lifeless against green eyeshadows.
- Fully Lining Eyes in Dark Color: Lining the waterline of the lower eyelid with black pencil or eyeliner can make the eyes appear narrower. This lining can also smudge, run, or accumulate in the corners of the eyes.
- Not Coloring the Lash Line: It’s nearly impossible to reach the roots of the lashes with mascara. This leaves an unfilled light strip between the eyelids and lashes.
How can you avoid this? Choose eyeshadows that contrast with your eye color (colors located opposite each other on the color wheel). For example, reddish or pinkish shades are suitable for green eyes.
Line the lower waterline with a light pencil to make the eyes appear larger. If you still want to use a dark color, color the lash line but only at the outer corner of the eye.
Always color the lash line of the upper eyelid with dark eyeshadows or a pencil. This makes the gaze appear deeper.
Untidy Lip Makeup
If the lip pencil color differs from the lipstick, the makeup looks unthoughtful. The lips appear smaller, and attention is drawn to this mistake.
Another nuance is lip gloss, which can spread or settle into lip lines, making the makeup look messy and smudged.
There’s also a catch with using matte lipstick. If applied to dry, cracked lips, it will highlight all imperfections.
How Can You Avoid This? Match your lipstick to your lip pencil, or vice versa.
Use lip gloss moderately so that it applies in a thin layer and doesn’t smudge.
Before applying matte lipstick, exfoliate your lips and apply a moisturizing product. This ensures the lipstick applies smoothly and looks velvety.
Join Our Beauty Community
At the Prestige Health And Beauty Sciences Academy we will help you master new skills. After training, you’ll be able to choose suitable skincare and decorative cosmetics. This will noticeably improve the health of your skin and the quality of your makeup.
During your training, you can directly consult with professional makeup artists. You’ll find like-minded individuals and useful contacts in the course. The skills you acquire can be used not only for personal enhancement but also professionally. After completing your training, you’ll receive a license and can start climbing the career ladder.
You'll learn about facial care and makeup application. The course also includes hair styling, cutting, manicures, and more.
This program focuses on improving skin health. You'll learn how to select skincare cosmetics, perform peels, massages, and other treatments.
Comprehensive Specialized Course
An opportunity to combine the skincare program with training as a nail technician. This saves you time from having to enroll in multiple courses.